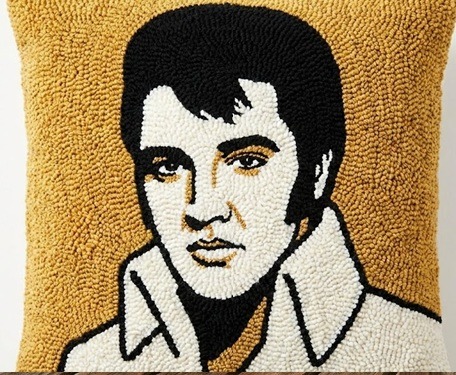
Beginner Tufting Project: How to Make a Small Decorative Tufted Pillow
Learn how to make a beginner-friendly tufted pillow using simple tools and Amazon supplies. A fun small tufting project for new rug tufters.
PROJECTSHOW TO
1/30/20263 min read
This post contains Amazon affiliate links. If you purchase through these links, Tuft Mom may earn a small commission at no extra cost to you. Thanks for supporting this site and our shared yarn addiction.
Beginner Tufting Project: How to Make a Small Decorative Tufted Pillow
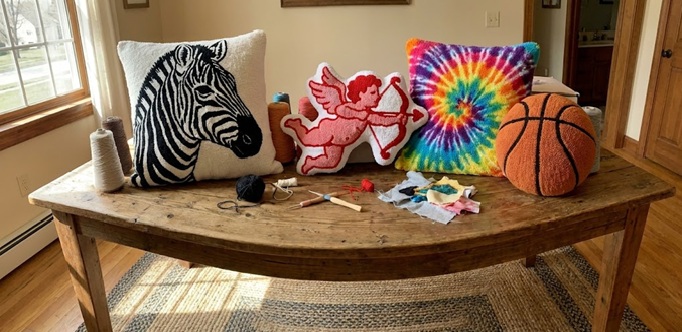
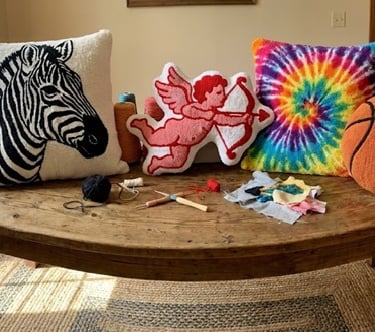
If you’re new to rug tufting and ready to graduate from keychains and coasters (no shade, but… actually yes, some shade), a small decorative tufted pillow is the perfect beginner tufting project.
It’s manageable, forgiving, looks impressive, and — bonus — uses tools and supplies you can easily grab on Amazon. This pillow won’t just sit there looking cute; it’ll quietly flex your growing tufting skills.
Why a Tufted Pillow Is a Great Beginner Tufting Project
If you’re learning how to tuft, pillows hit the sweet spot:
Small enough for beginners
Teaches clean line work and trimming
Less pressure than a full rug
Uses basic tufting supplies
Makes a legit home decor item
Plus, mistakes disappear into the fluff. Nature is healing.
Tufting Supplies You’ll Need (Beginner-Friendly & Amazon-Approved)
Everything listed below is easy to find on Amazon and ideal for beginners learning how to tuft.
Tufting Basics
Cut Pile Tufting Gun (Beginner Model)
A lightweight cut pile tufting gun for beginners is ideal for this project. Look for one with adjustable speed and a comfortable grip — your wrists will thank you.
Primary Tufting Backing Cloth (Monk’s Cloth or Tufting Fabric)
Using proper tufting backing cloth is non-negotiable. Monk’s cloth made specifically for tufting holds yarn securely and prevents tears while you work.
Acrylic Yarn (Medium Weight)
Soft, affordable, and forgiving — acrylic yarn for tufting is perfect for beginner projects. Choose 2–4 colors max to keep things simple and clean.
Pillow-Specific Supplies
Decorative Pillow Insert (12x12 or 14x14)
Buy your pillow insert first so you size your tufted panel correctly. This avoids the classic “why doesn’t this fit?” meltdown.
Cotton or Canvas Fabric for Pillow Backing
This fabric will become the back of your pillow. Basic cotton fabric or canvas works great and is easy to sew or glue.
Carpet Adhesive or Heavy-Duty Fabric Glue
A strong tufting glue or carpet adhesive locks in your yarn after tufting. This step keeps your pillow from slowly unraveling into chaos.
Scissors or Electric Tufting Trimmer
Sharp tufting scissors or an electric trimming tool make all the difference when shaping and smoothing your design.
Optional: Pillow Zipper or Envelope Pillow Backing
Not required, but very chic. Adds “I know what I’m doing” energy.
Step-by-Step: How to Make a Tufted Pillow for Beginners
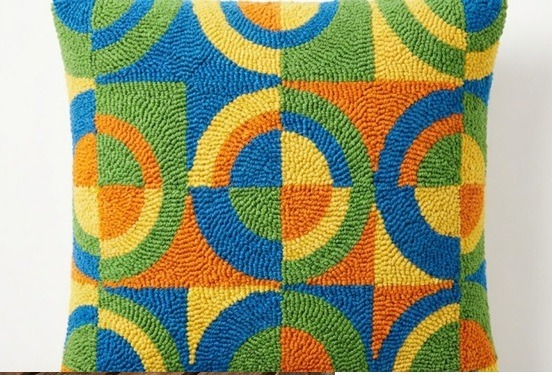
Step 1: Choose a Simple Tufting Design
Beginner-friendly designs include:
Abstract shapes
Simple florals
Checker patterns
Smiley faces
Bold organic blobs
Avoid lettering or detailed illustrations until you’re more confident.
Draw or trace your design onto your tufting backing cloth before mounting it on your frame.
Step 2: Stretch the Backing Cloth Tight
Mount the backing cloth on your tufting frame so it’s drum-tight. If it wiggles, tighten it again. Loose fabric is the enemy.
Step 3: Tuft the Design
Using your cut pile tufting gun, start filling in your design one color at a time. Let the gun glide — don’t force it.
Beginner tip: slow and steady beats aggressive tufting every time.
Step 4: Glue the Back of the Tufted Piece
Apply a thick, even layer of carpet adhesive to the back of your finished tufting. Let it dry completely (overnight is best).
This step is boring but extremely important. Do not skip it.
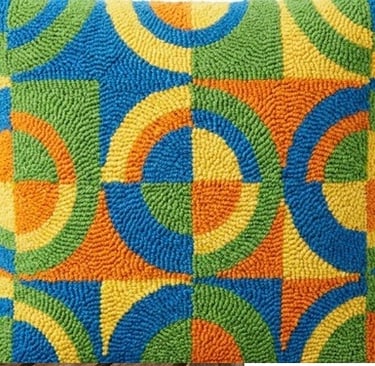
Step 5: Trim and Shape the Tufted Surface
Flip your piece over and trim the yarn to even out the pile. This is where your tufted pillow goes from “homemade” to “handmade.”
Take breaks and step back often — over-trimming is real.
Step 6: Assemble the Pillow
Cut your tufted piece to match your pillow insert size.
Attach it to your backing fabric by sewing or gluing. Insert the pillow form and fluff dramatically.
You made a tufted pillow. Look at you.
Where to Use Your Tufted Pillow
Couch accent pillow
Craft room decor
Bed styling pillow
Handmade gift (prepare for praise)
This is functional tufting, not just practice.
Final Thoughts from Tuft Mom
Your first tufted pillow won’t be perfect — and that’s exactly right. It will be cozy, slightly uneven, and proof that you’re officially past beginner panic and into beginner confidence.
One pillow leads to another. Yarn multiplies. Welcome to the club.


Cozy updates on tuft rugs and tufting tips
Contact
Hello@TuftMom.com
© 2026. All rights reserved.